Twitter threads have become quite popular. A lot of information can be packed into one thread, and in my opinion, Twitter threads are quite enjoyable to read.
If you’ve been using a third party service to create your threads, or even creating them manually, then this blog post is for you!
You basically don’t have to write a single line of code if you don’t want to! To make this happen, you can easily use flethy. flethy is basically an open source library that gives you access to over 300 services in one go.
Here are a few basics so that we speak the same language:
- flethy connectors: This package gives you a wrapper to hundreds of APIs so you can integrate with a service as quickly as possible.
- flethy flow: This allows you to connect different services together so that you can implement a flow with sequential or parallel paths.
- flethy Cloud: This SaaS product uses the flethy packages so that you can run your processes in the cloud.
Good, then we can start now. Let’s go!
As a prerequisite, you need a Twitter Developer account. With a Twitter account, it’s easy: navigate to https://developer.twitter.com and register a new app. Make sure that you create a Twitter app that has read and write permissions!
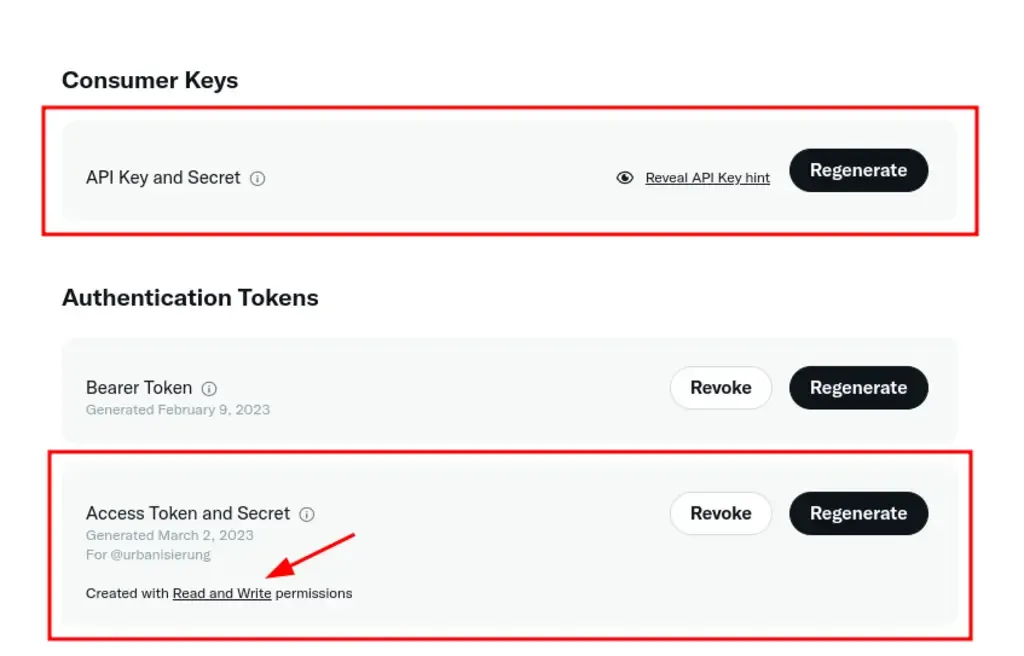
You need the following credentials for the flow to work:
- API Key and Secret
- Access Token and Secret
Now it gets a little technical, but not too much. The following flethy flow creates your Twitter thread:
[
  {
    "id": "first",
    "next": [
      {
        "id": "reply",
        "condition": {
          "filter": "$count(context.input.thread) > 1"
        }
      }
    ],
    "config": {
      "namespace": "tweet",
      "postAssignments": [
        {
          "namespace": "thread",
          "key": "counter",
          "valueToEvaluate": "$number(1)"
        }
      ]
    },
    "kind": "twitter.manage.postTweets",
    "auth:Authorization": {
      "consumerKey": "==>secrets==>CONSUMER_KEY",
      "consumerSecret": "==>secrets==>CONSUMER_SECRET",
      "accessKey": "==>secrets==>ACCESS_TOKEN",
      "accessSecret": "==>secrets==>ACCESS_TOKEN_SECRET"
    },
    "body:text": "->context.input.thread[0]->string"
  },
  {
    "id": "reply",
    "next": [
      {
        "id": "reply",
        "condition": {
          "filter": "$number(context.thread.counter) < $count(context.input.thread)"
        }
      }
    ],
    "config": {
      "namespace": "tweet",
      "postAssignments": [
        {
          "namespace": "thread",
          "key": "counter",
          "valueToEvaluate": "$number(context.thread.counter) + 1"
        }
      ]
    },
    "kind": "twitter.manage.postTweets",
    "auth:Authorization": {
      "consumerKey": "==>secrets==>CONSUMER_KEY",
      "consumerSecret": "==>secrets==>CONSUMER_SECRET",
      "accessKey": "==>secrets==>ACCESS_TOKEN",
      "accessSecret": "==>secrets==>ACCESS_TOKEN_SECRET"
    },
    "body:text": "->context.input.thread[$$.context.thread.counter]->string",
    "body:reply": {
      "in_reply_to_tweet_id": "->context.tweet.data.id->string"
    }
  }
]
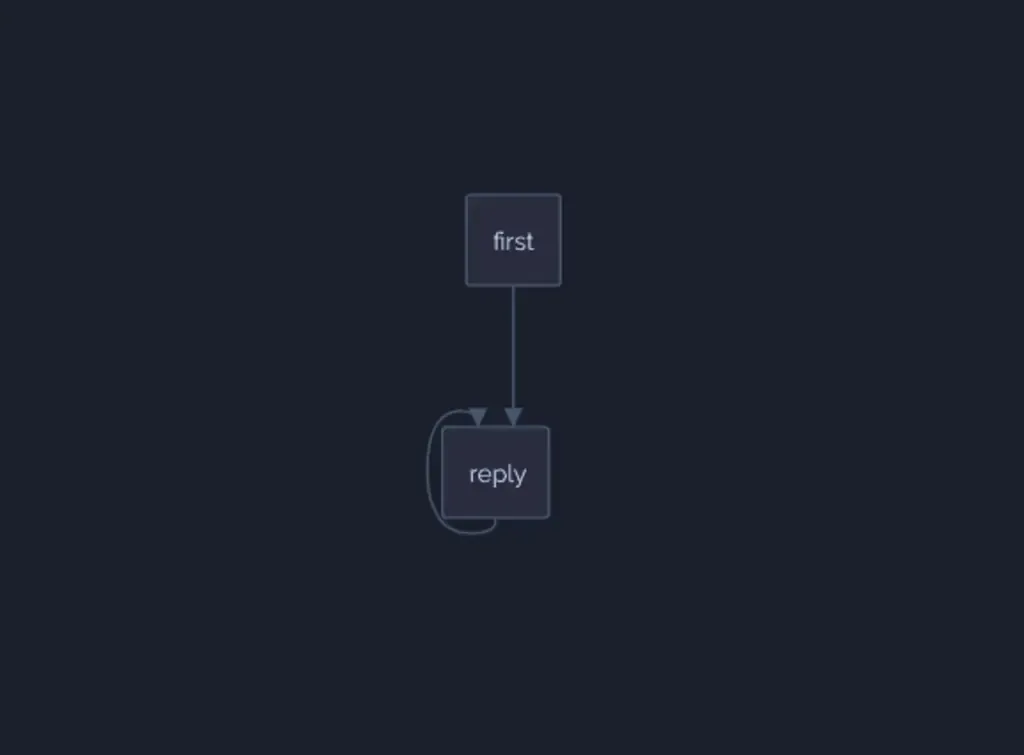
Represented as a graph, it looks like this:
To best explain the process to you, I will briefly show you the payload that you can use to start the process:
{
"input": {
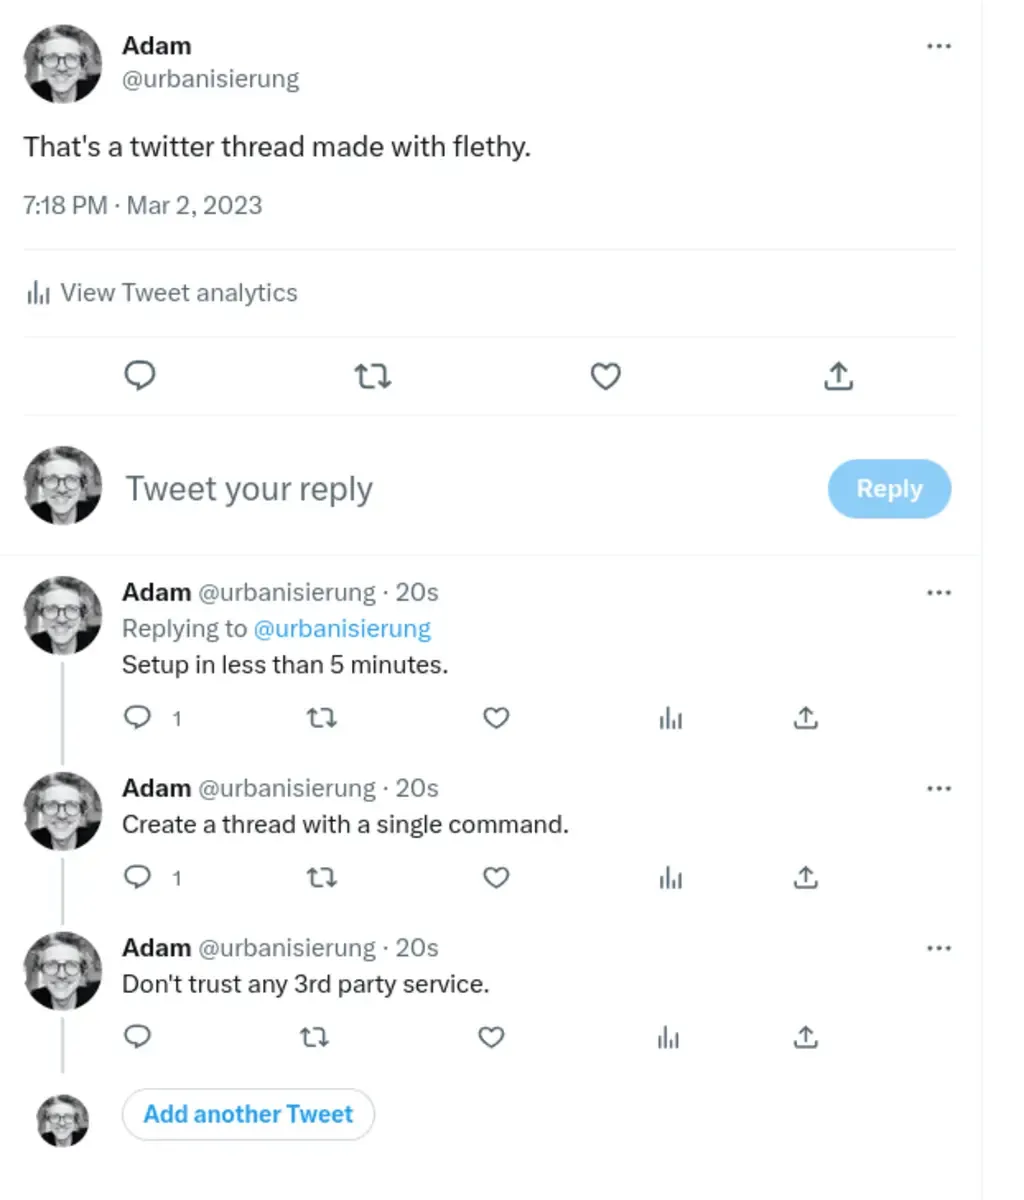
"thread": [
"That's a twitter thread made with flethy.",
"Setup in less than 5 minutes.",
"Create a thread with a single command.",
"Don't trust any 3rd party service."
]
}
}
The process essentially does the following:
- Create a tweet with the first element from the array. Here:
That's a twitter thread made with flethy. - Write a new variable called
counterand initialise it with the value1. This gives us a condition for the loop we are going to run through. - If the array contains more than one element go to the next node
reply. - Create a tweet as a reply to the last tweet and increment the counter.
- If the counter is less than the number of elements, execute the node
replyagain, otherwise we are done.
Actually quite simple!
You can now easily start this flow with the typescript package @flethy/flow:
import { FlowEngine } from "@flethy/flow";

const flow = {}; // flow from above
const input = { input: thread: [] }; // input from above

async function main() {
  const engine = new FlowEngine({
    env: {
      env: {},
      secrets: {
        CONSUMER_KEY: process.env.CONSUMER_KEY,
        CONSUMER_SECRET: process.env.CONSUMER_SECRET,
        ACCESS_TOKEN: process.env.ACCESS_TOKEN,
        ACCESS_TOKEN_SECRET: process.env.ACCESS_TOKEN_SECRET,
      },
    },
    flow,
    input,
  });
  await engine.start();
}

main()
That’s all you need to create a Twitter thread locally in a Typescript project.
Of course, it is more comfortable in the cloud. You don’t have to set up anything, set any environment variables or write any code. The following video shows you how it works:
And at the end you’ll receive your tweet :)
I’ve implemented flethy so you don’t have to worry about doing repetitive tasks anymore. If you like the project, give it a star on Github. Feel free to ask questions and give feedback! I’m looking forward to it!
And if you want to try out flethy Cloud: https://flethy.com/signup - it’s free!

Adam Urban is fullstack engineer, loves serverless and generative art, and is building side projects like weeklyfoo.com, flethy.com and diypunks.xyz in his free time.